Set up Wi-Fi on a Mac
Takes about three minutes. You need your WRA username and password, and your Mac's login password for the last step.
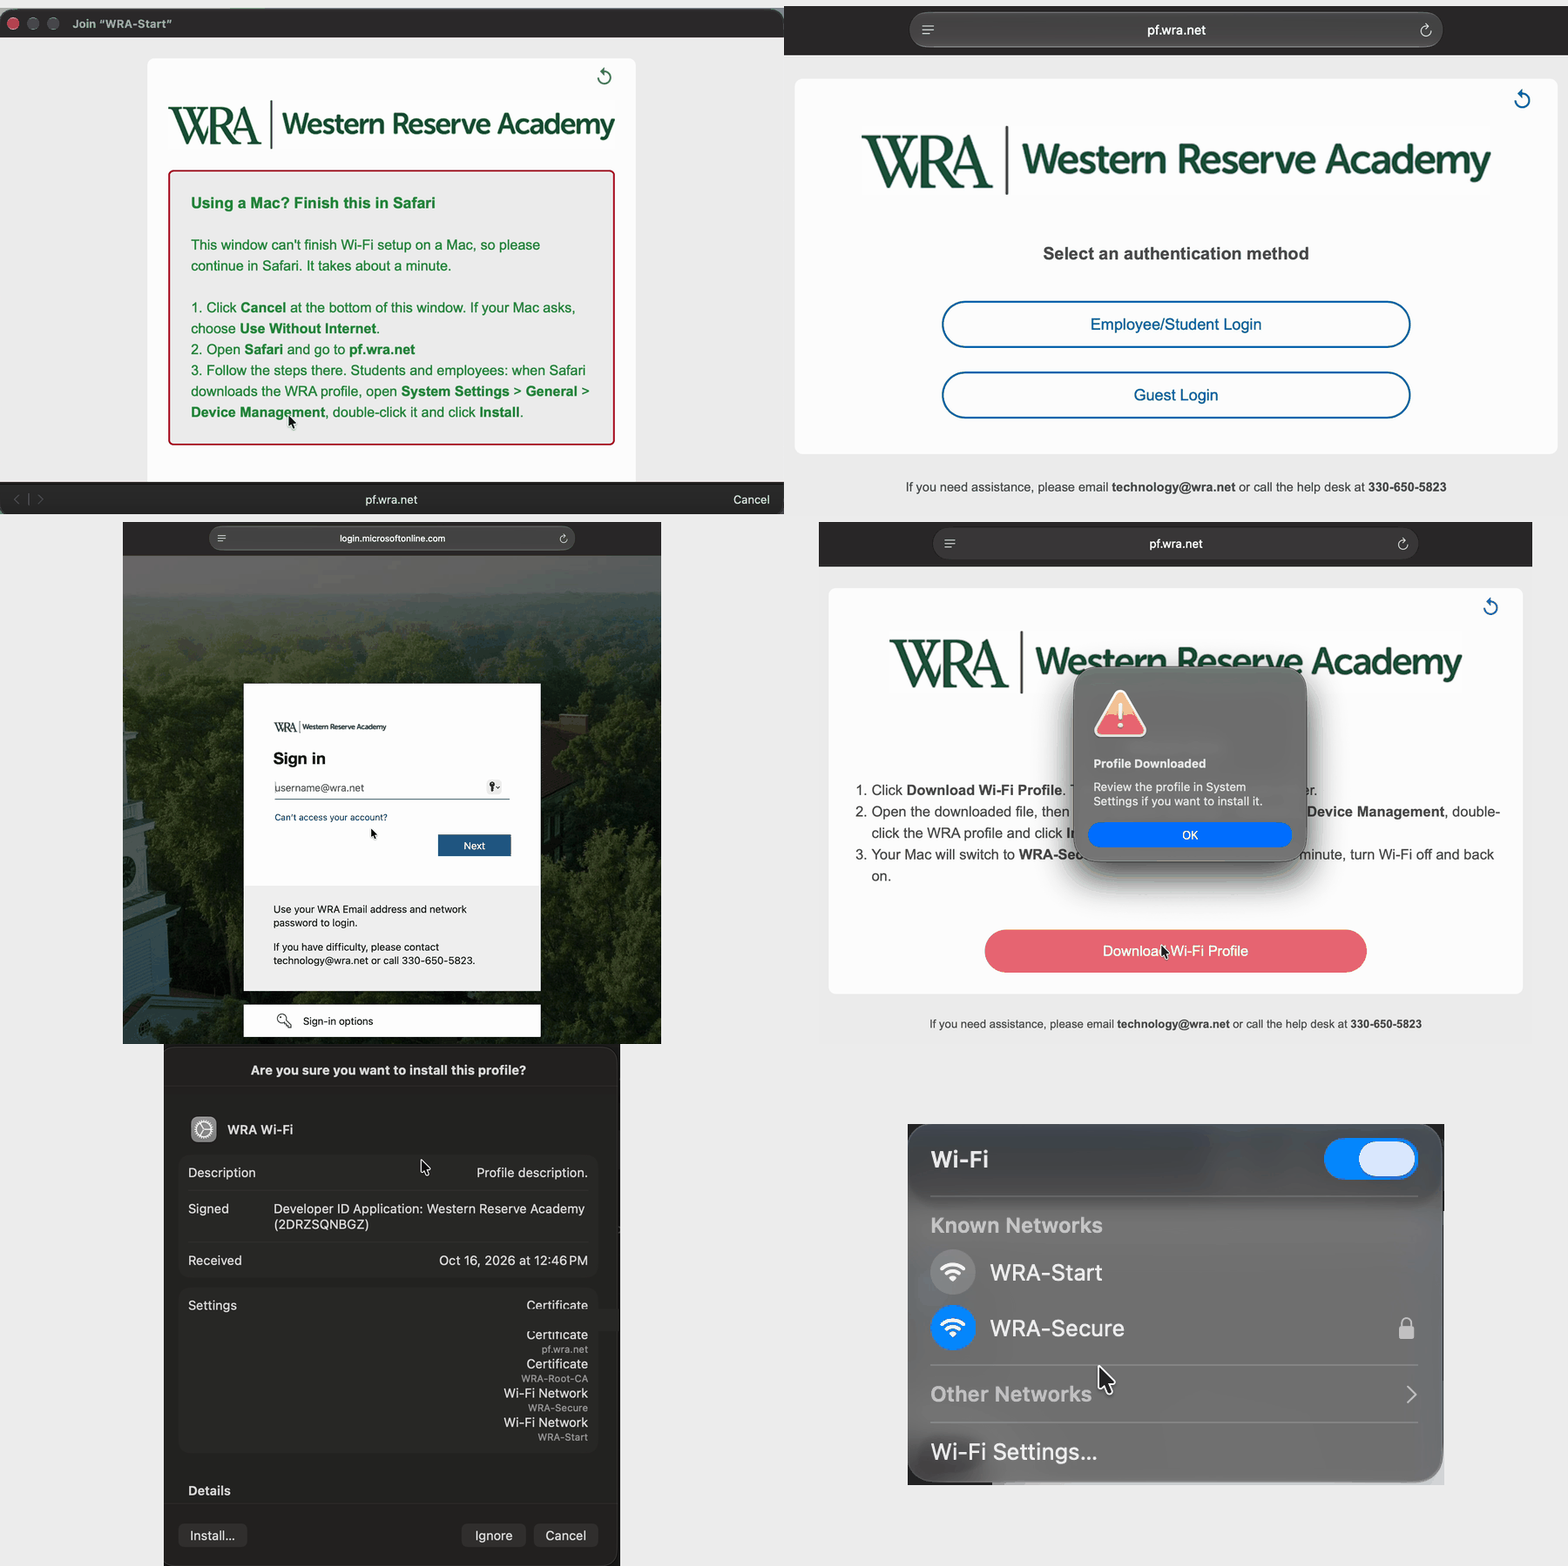
1. Join WRA-Start, then close the pop-up
Click the Wi-Fi icon in the menu bar and choose WRA-Start. There is no password.
A small window opens with a box that says Using a Mac? Finish this in Safari. That window can't finish the setup on a Mac, so click Cancel at the bottom right. If it asks, choose Use Without Internet.
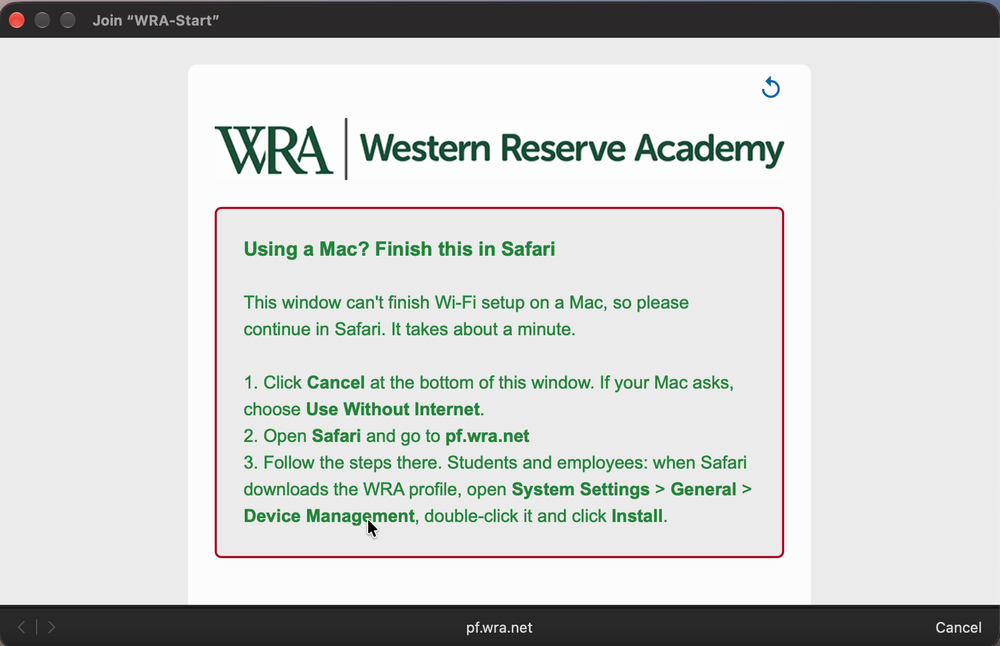
2. Open Safari and go to pf.wra.net
Open Safari (other browsers work too) and type pf.wra.net in the address bar. The sign-in page opens.
3. Sign in
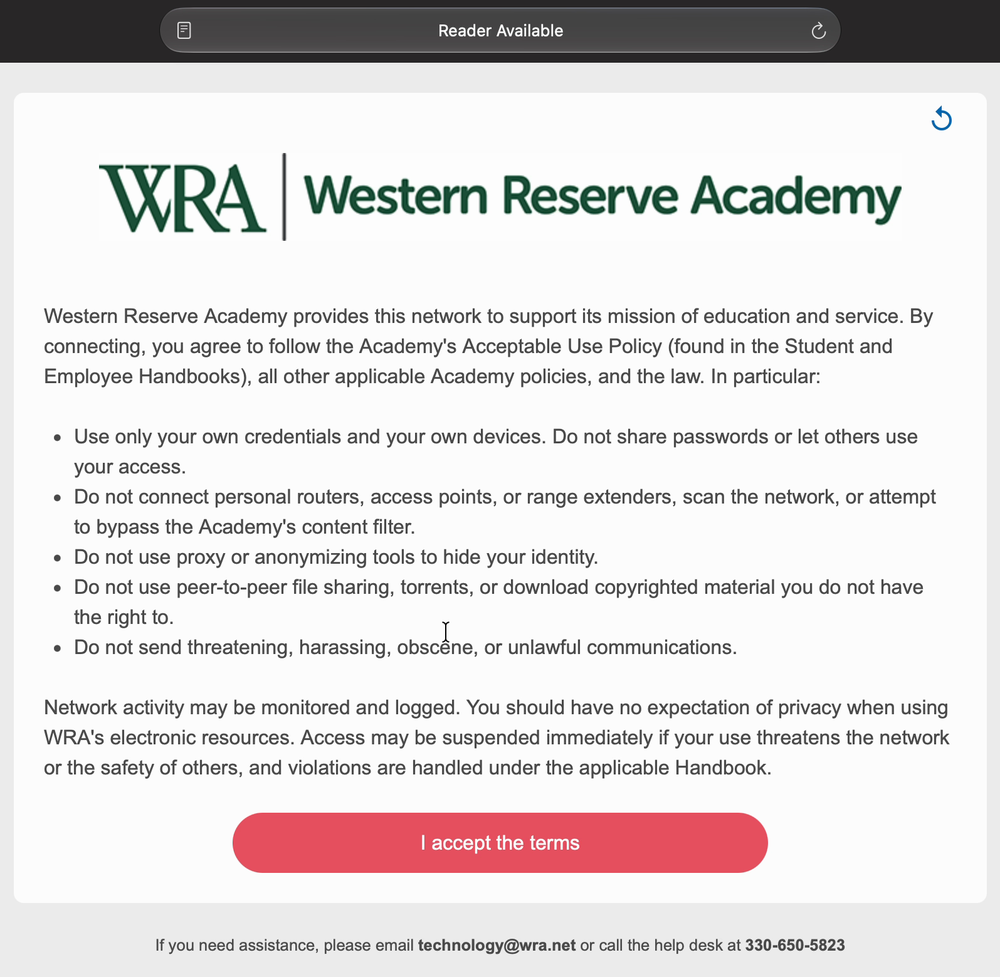
Read the short acceptable-use note and click I accept the terms at the bottom.
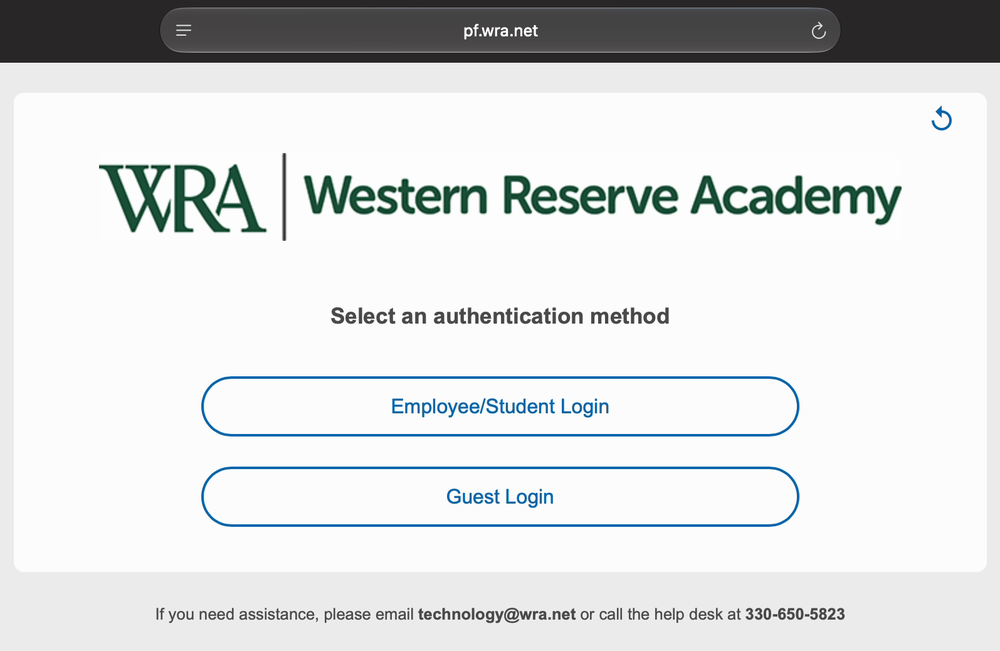
Click Employee/Student Login.
The next page explains what the setup does. Click Sign in with Microsoft.
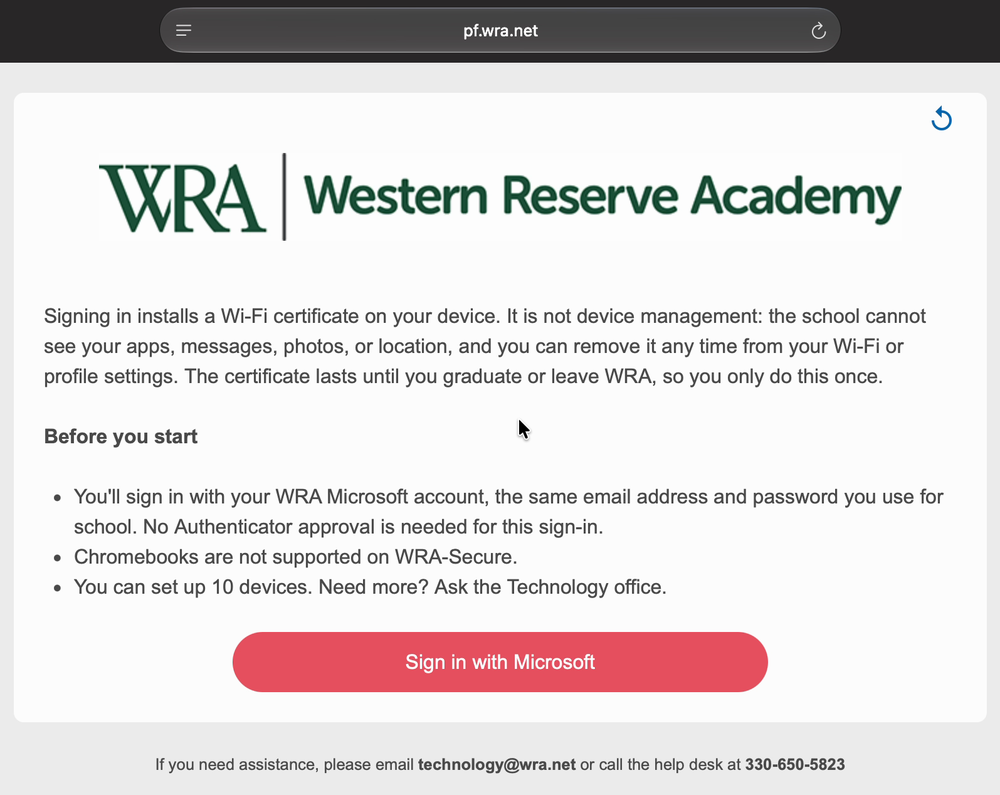
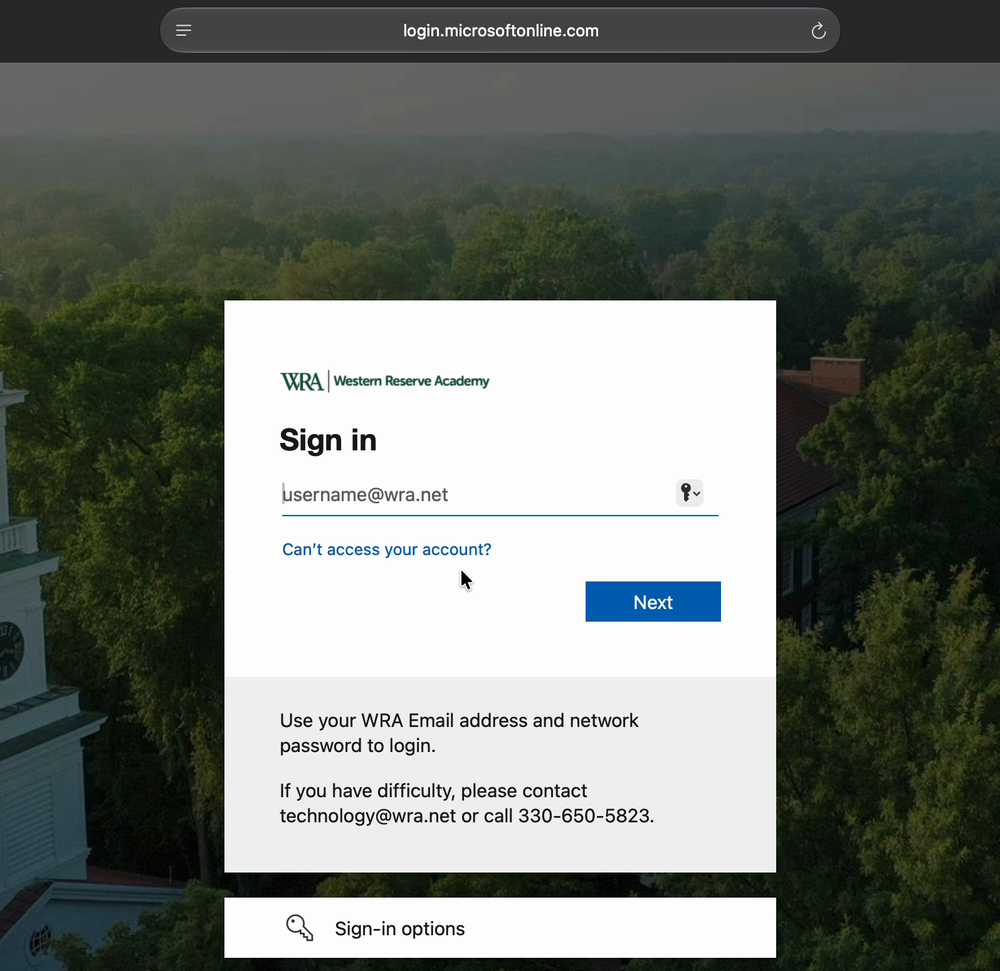
Sign in with your WRA email address and password, for example ellsworthj@wra.net. You will not be asked for an Authenticator code here. If it asks Stay signed in?, either answer is fine.
If you see Trying to sign you in for a while, wait. It can take up to half a minute before the sign-in box appears.
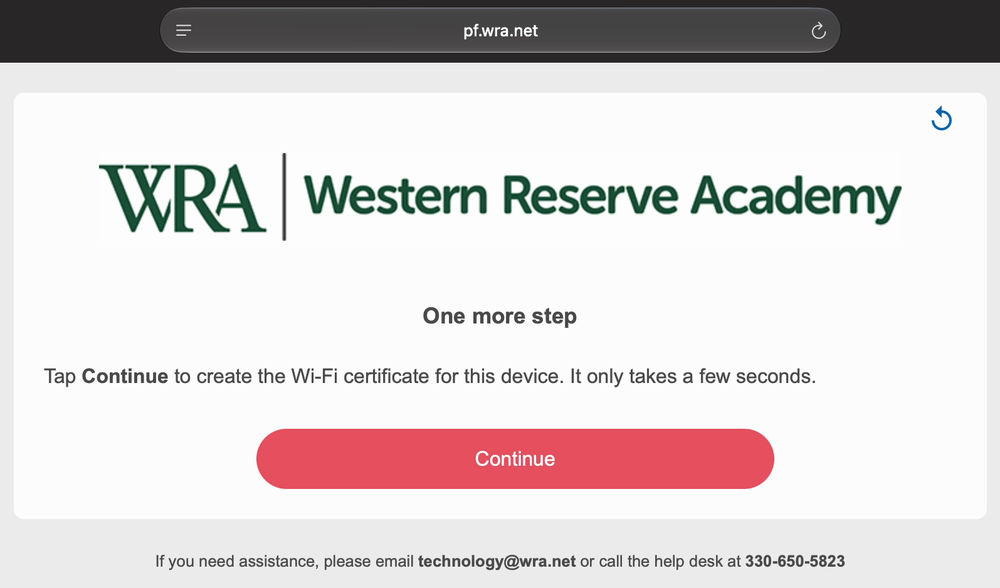
4. Create the certificate
On the One more step page, click Continue.
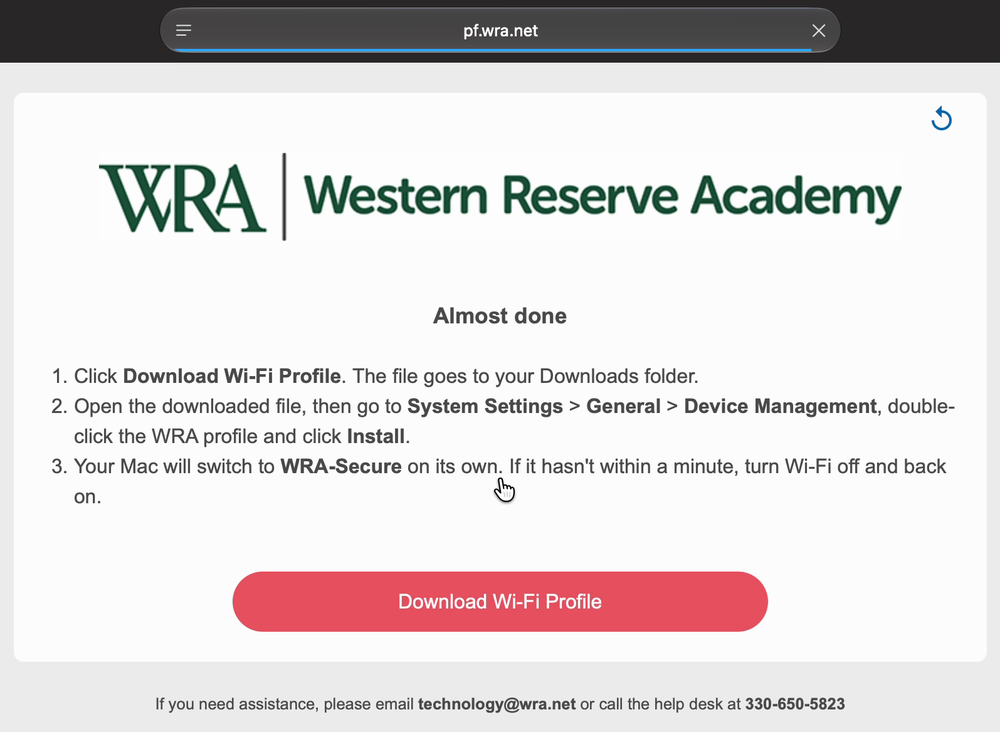
5. Download the Wi-Fi profile
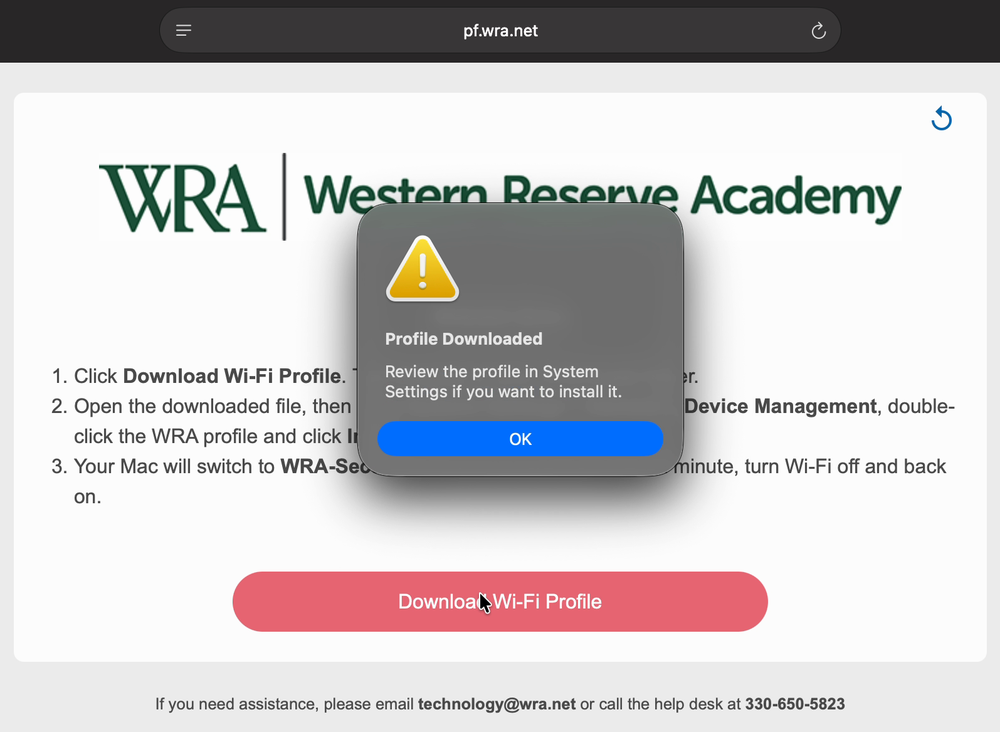
On the Almost done page, click Download Wi-Fi Profile.
A Profile Downloaded message says to review the profile in System Settings. Click OK.
6. Install it
Open System Settings → General → Device Management. Under Downloaded, double-click WRA Wi-Fi.
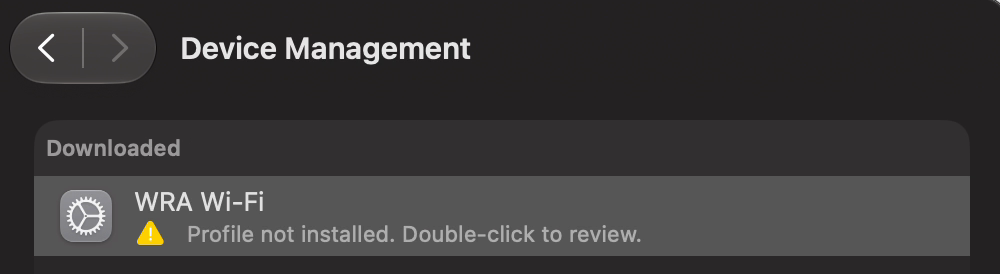
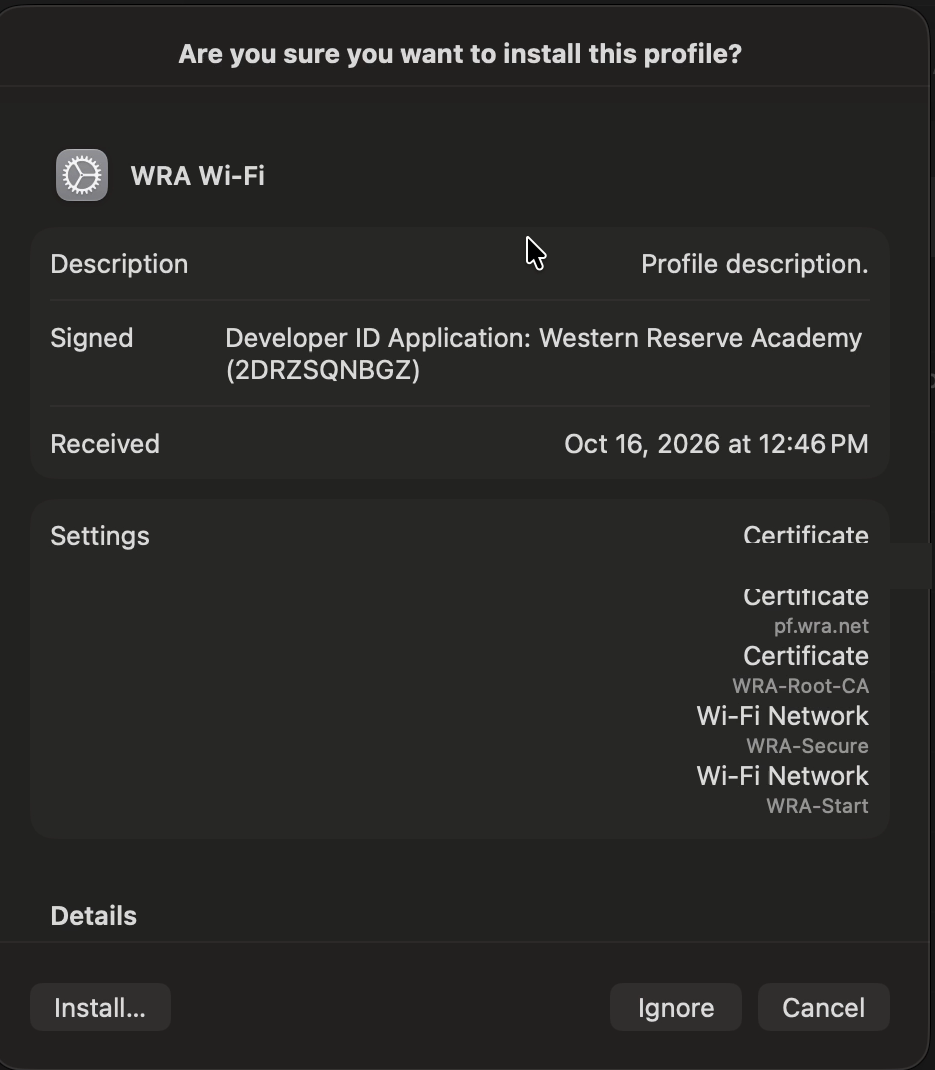
Check that it says Signed … Western Reserve Academy, then click Install….
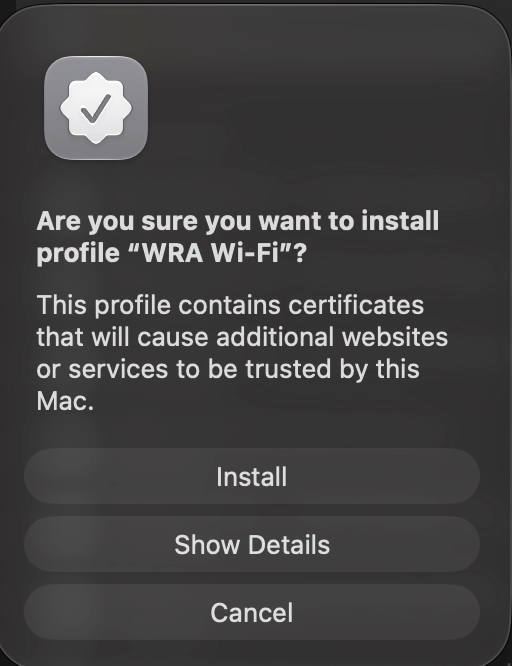
Your Mac asks if you're sure. Click Install, then enter your Mac's login password and click Allow Access. The profile adds the WRA-Root-CA certificate, which only lets your Mac recognize the WRA Wi-Fi network. WRA does not use it to filter, inspect or interfere with anything you do online.
7. Done
Your Mac switches to WRA-Secure within a few seconds. Check the Wi-Fi menu: it should show WRA-Secure. If it hasn't switched after a minute, turn Wi-Fi off and on from the menu bar.
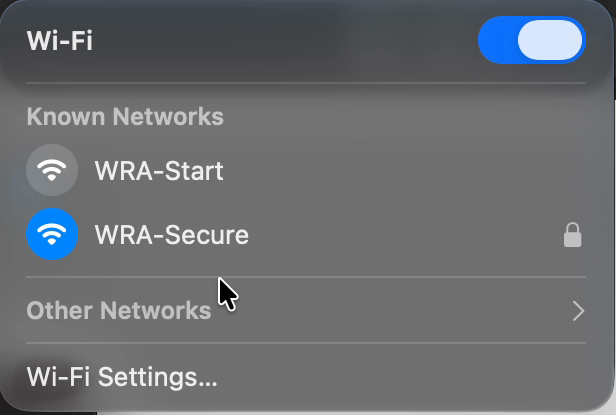
From now on the Mac joins WRA-Secure on its own.
Good to know
- You don't need to forget WRA-Start. The profile tells your Mac not to join it automatically.
- If you ever get a "This device is already set up" page on WRA-Start, just pick WRA-Secure from the Wi-Fi menu.
- To see or remove the profile later: System Settings → General → Device Management → WRA Wi-Fi.
- The pop-up window in step 1 can't download the profile and, while it's open, your Mac won't load any other website either. That's why the first step is to close it.
Problems? See Troubleshooting.